
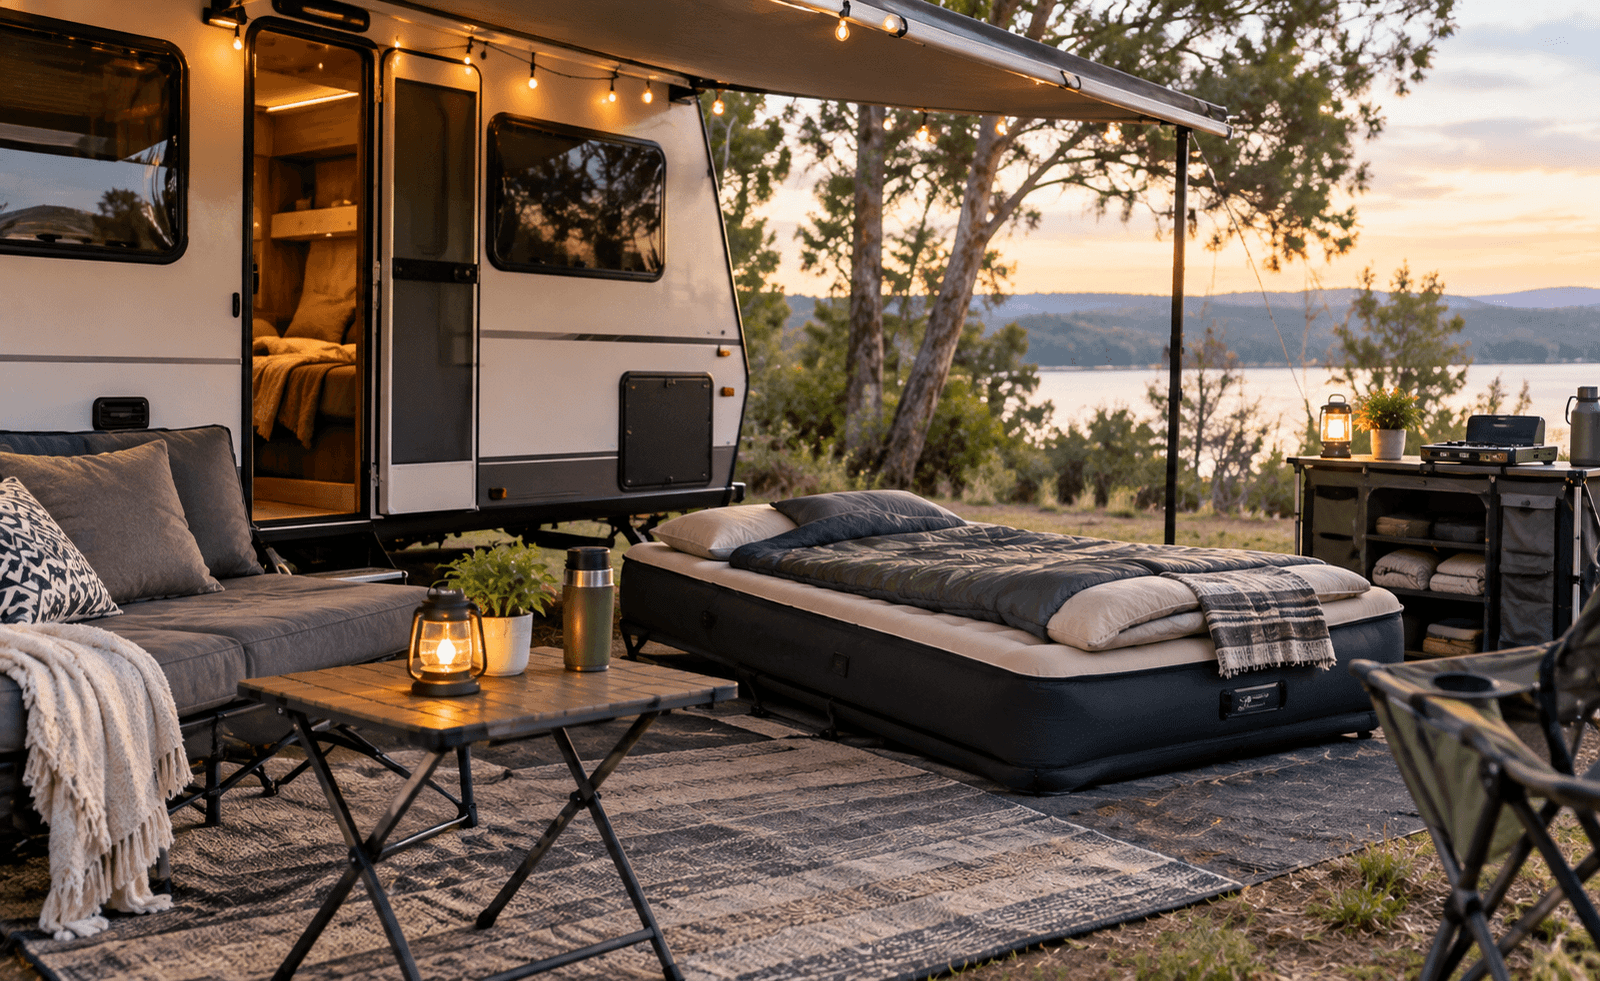

Every Aussie camper knows the moment. Another mate wants in on the trip, and suddenly your cabin or campsite is a jigsaw puzzle with one too many pieces. You could turn people away. You could cram everyone into a single tent and hope for the best. Or you could make a bit more room. The good news is that expanding your sleeping and living space doesn’t mean gutting the place and starting over. Here are four ways to do it, whether your setup is permanent or packed away each season.
1. Build a Detached Tiny Structure or Glamping Setup
Sometimes the simplest fix is a separate one. A detached tiny cabin or glamping setup gives you extra beds without you having to touch the main building, and it keeps a bit of privacy for everyone. Pitch an awning tent against a small frame, and you’ve got a snug, weatherproof spot that still lets guests feel like they’re actually camping.
The styles run the full range too, from rough-and-ready bush cabins to sleek glamping pods, so there’s something for most budgets. And here’s a thought: when you’re not using it yourself, a spare structure like this can bring in a bit of rental income over peak season.
2. Install a Murphy Bed or Sofa Bed
Got a room that already does double duty? A Murphy bed or sofa bed will earn its keep. Murphy beds tuck up flat against the wall through the day, so the floor stays clear for meals, cards, or just sprawling out. Come night, they fold back down into a proper bed.
Sofa beds do much the same job without any installation, which makes them handy if you’re renting or you’d rather keep things reversible. Neither option costs anywhere near what building a new room would, and both let the space you’ve already got pull more weight.
3. Convert a Porch or Deck into an Enclosed Room
If you’ve got a porch or deck that mostly gathers dust, screening it in turns it into a comfortable three-season room. Extra guests, a quiet corner for a book, whatever you need. Add some insulation and decent windows, and you can stretch it to year-round use, which matters when Australia throws everything at you, from sticky summers up north to properly cold nights down south.
Because you’re working with something that already stands there, the job usually calls for fewer structural changes than tacking on a whole new room. You also end up with an easy flow between inside and out, and that’s exactly what you want when everyone’s milling about the camp of an evening.
4. Add a Sleeping Loft
High ceilings tend to hide a lot of wasted space. Pop a sleeping loft above an existing room, and you gain beds without spreading your footprint an inch wider. Lofts really come into their own in smaller cabins, where the floor’s tight but there’s plenty of room to build upward.
A couple of things to sort before you climb up there:
- Safety first. Fit sturdy railings and either a secure ladder or a proper staircase.
- Mind the heat. Warm air rises, so good ventilation keeps a loft from turning stuffy on a hot night.
Choosing the Right Option for Your Camp
Each of these strikes a different balance between cost, effort, and flexibility, so the best pick really comes down to your layout and how often you’re hosting. Want something that feels semi-permanent? A sleeping loft or an enclosed porch tends to fit the bill. After a bit more give in the setup? Murphy beds and detached glamping structures are easier to change your mind about later.
Whichever way you go, a little planning now buys you more room for mates, family, and plenty of good nights at camp for seasons to come.
